


Tools of the trade
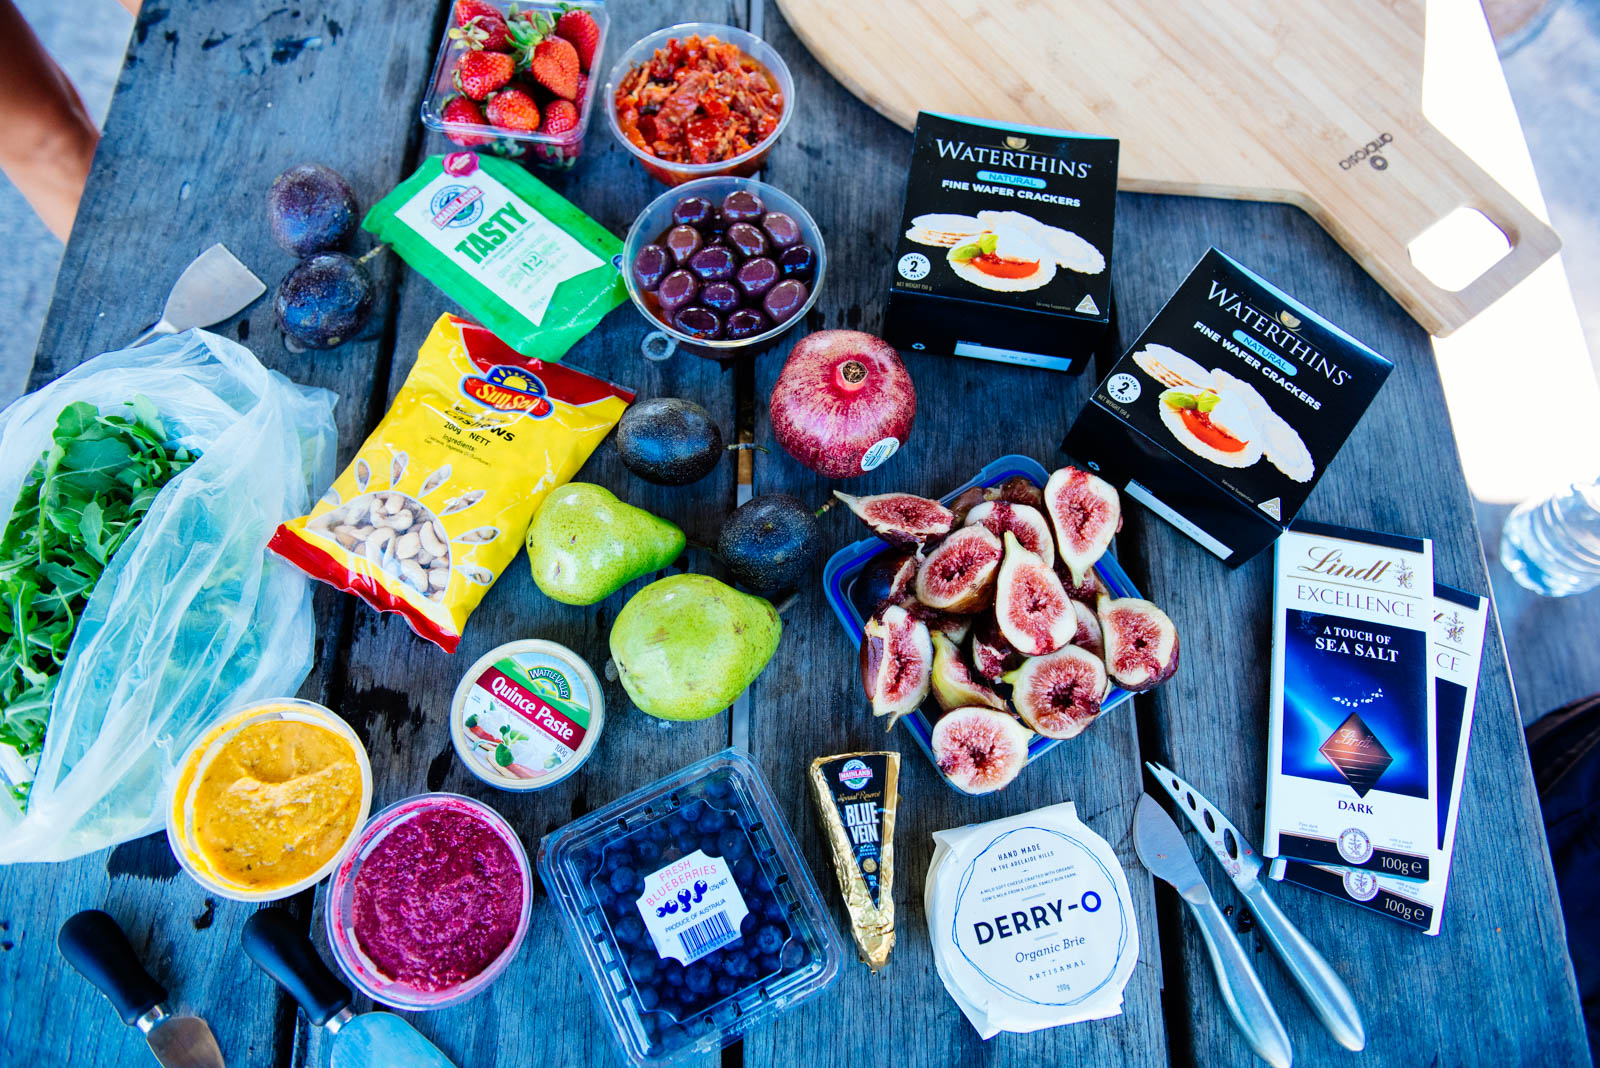
- a large platter or piece of wood (make sure it’s a clean natural piece of wood rather than a composite that may have been treated).
- small bowls
- cheese of normal knives
I taught Geneva during the process that it needs to feel abundant, and have no gaps. Personally I also love platters with gaps, but I am not great at precision, which is why this kind of spread works for me – there are no mistakes, fill the gaps with something delicious (and attractive fruit helps too… don’t do what my boyfriend does and have just meat and cheese; the fruit is what makes it gorgeous!).
We went through some steps:
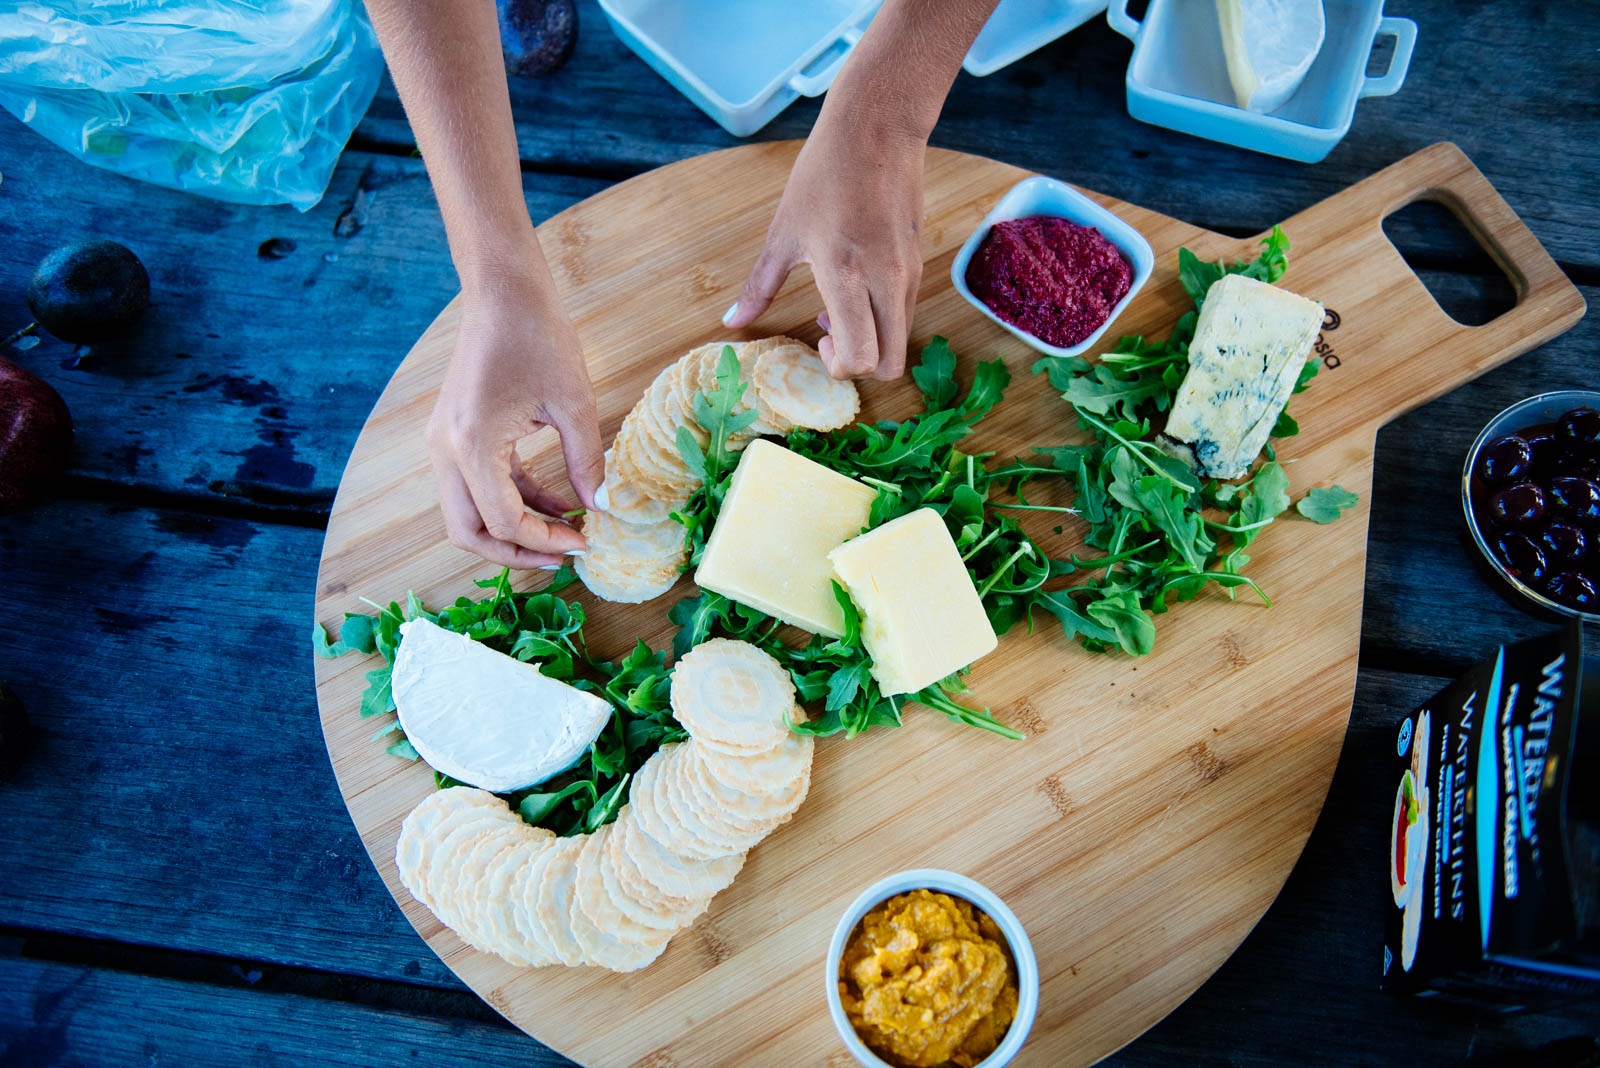
1. Lay out a framework
You’re generally going to focus on an organic layout, but first you’ll want to use your cheese as markers on your board. Thus, a little bit of structure. Lay them in a row or on the sides. Break or cut your blocks if they are too big. Then, add rocket underneath to prop them up and fill any black spaces.
2. Add bowls
Think it’s ok to whack those plastic dip containers on your platter? Think again! Probably only one of the major rules for this platter – decant your dips and olives etc into small bowls. Then, place your bowls around the platter. Try to avoid placing them too symmetrically, we’re going for a rustic ‘whatever’ feel here. Remember to keep adding rocket around what you add to fill any gaps.
3. Swirl your crackers
Add a few swirls of crackers around your platter, mixing them between the cheeses and making sure to press them close to what’s on the board already. Don’t put all your crackers on at once unless you’re doing a huggggge board because they’ll crowd it, you can always add more later as people eat them.
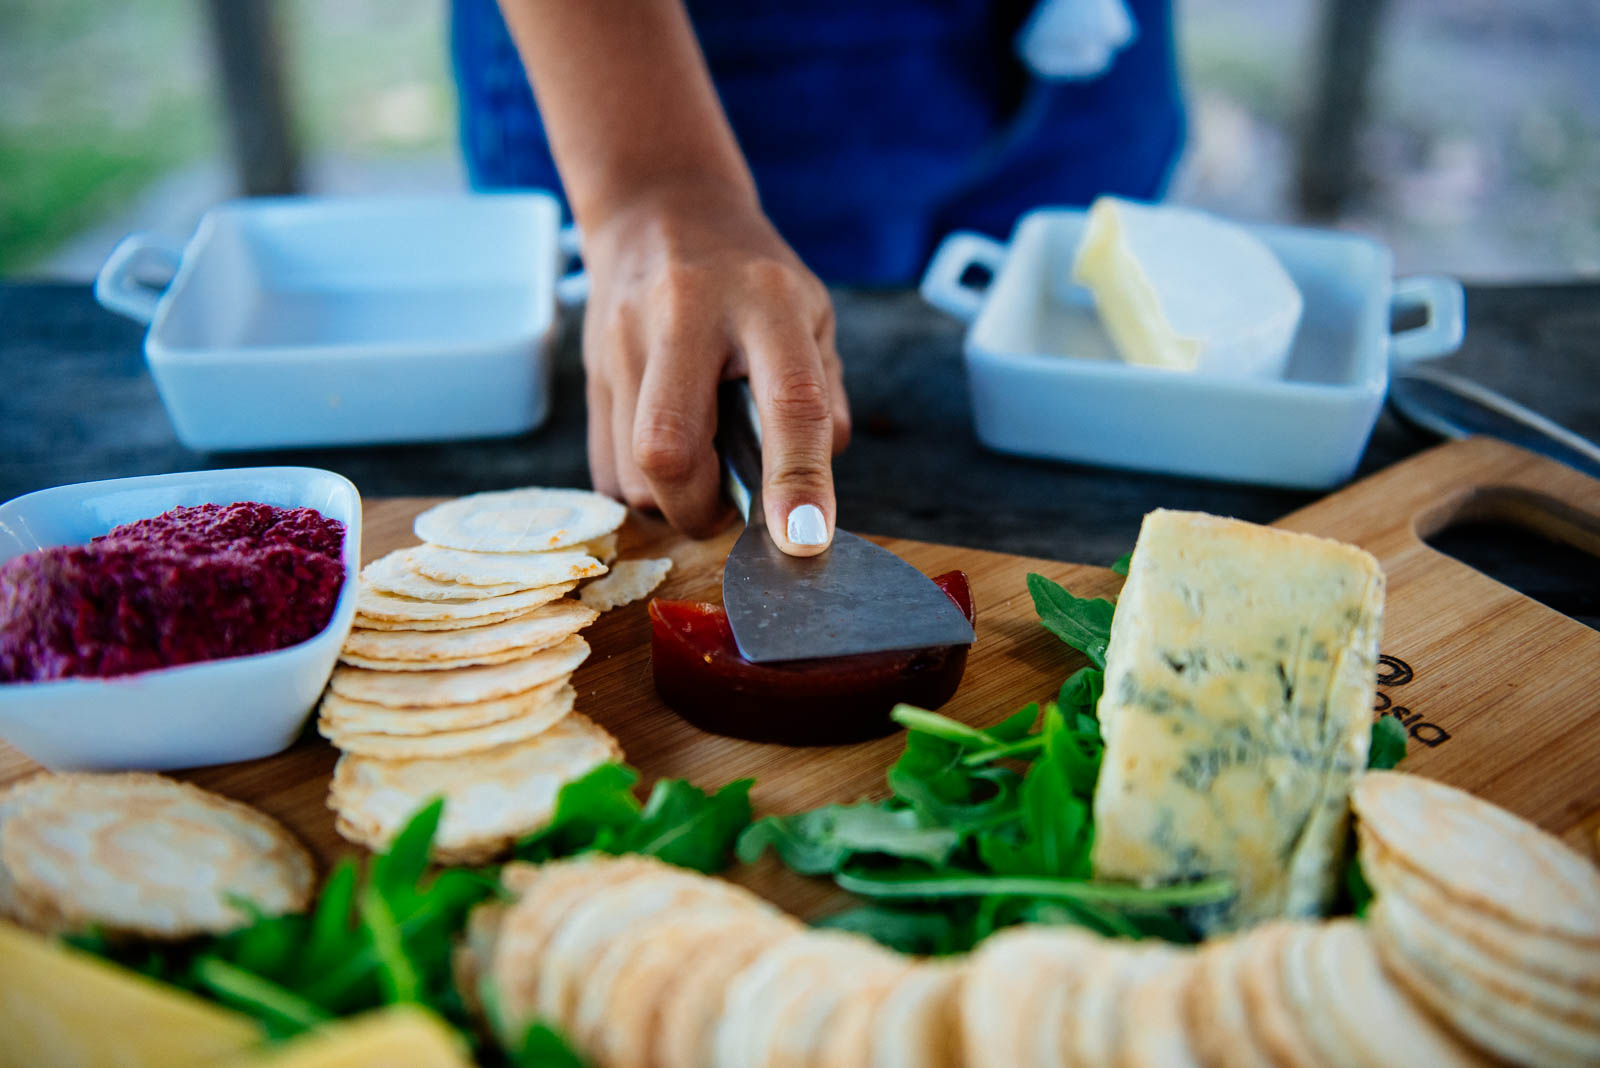
4. Create themed sections
Kinda. Now’s the time to start adding more to the board including the cut fruit, rolled salamis and meats, and if you can, it’s nice to kinda group these things together. For example create a Mediterranean area and a fruit area. You don’t have to be too militant about this but it can have a nice effect. If you’re working with a bigger board, you can put a pear or two on whole. You can do a swipe of quince paste if you’re using it.
5. Fill the gaps
Once you’ve added all the big items, go through and fill all the gaps with blueberries and the nuts. Add as many as you can so the platter becomes more of a 3D pile of food rather than being flat. This is gonna get you the ‘ohs’ and ‘ahs’.
6. Push from the edges
Once the board is almost done, time for the best bit. The chocolate! Pushing from the outside in, make room around the edges for adding the chocolate. This will help build up the middle of the platter and make it denser. Break up the chocolate in rustic way rather than into squares, and fill the outside gaps with it. Done and done… try to take a photo before everyone ruins it (quickly!).